
 (2 votes, average: 4.50 out of 5)
Today, we’re going to teach you guys how to configure return merchandise authorization in Magento 2.
RMA (Return Merchandise Authorization) is basically an eCommerce term used to describe an arrangement where a seller agrees to have a customer ship back purchased item in exchange for a credit or refund.
In the eCommerce business, return is an inevitable situation. And by allowing your customers to return defective or unflavored products, you can assure products’ quality & support service to your customers.
And if your store is based on Magento 2 platform, then integrating the RMA functionality is extremely easy.
In this post, we’re going to show you how to configure the return merchandise authorization in your Magento 2 store.
Step-by-Step Process to Configure Return Merchandise Authorization (RMA) in Magento 2
In order to configure the RMA (Return Merchandise Authorization) in your Magento 2 store, first, you need to get the Magento 2 RMA Extension.
Once you’ve purchased & installed the RMA extension, you need to follow the below steps carefully to configure it properly in your Magento 2 store.
Step – 1
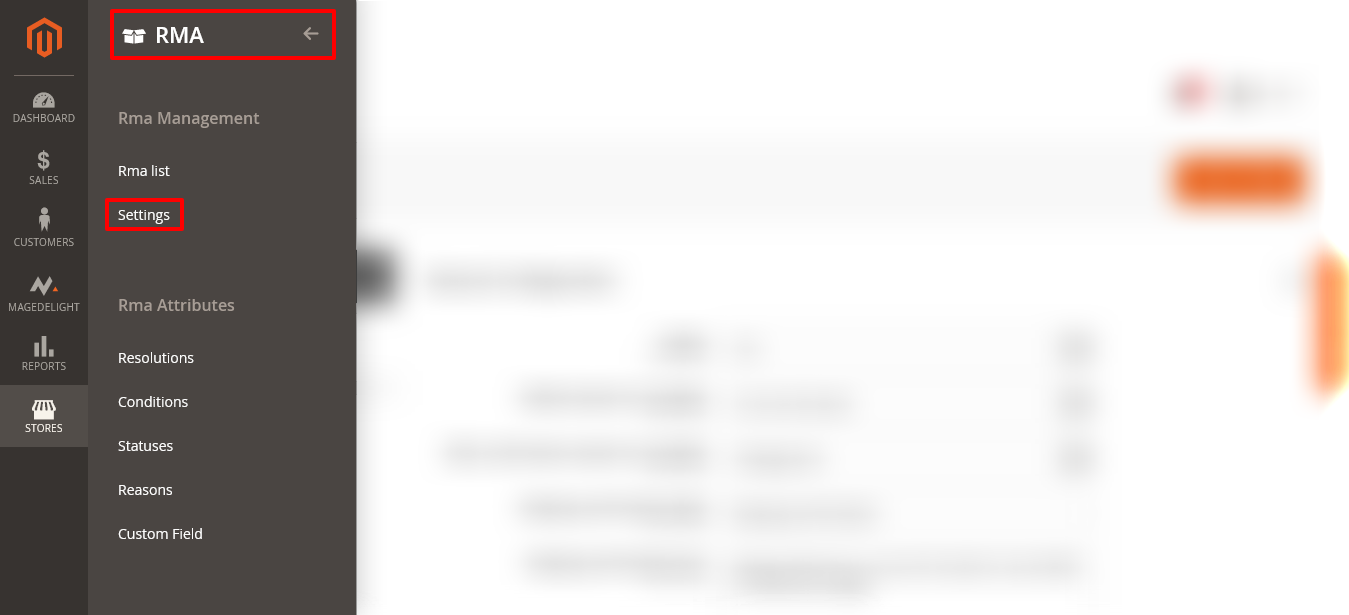
First of all, login to your admin panel and navigate to Stores > RMA > Settings.
Step – 2
After that, expand the General Configuration section and do the following:
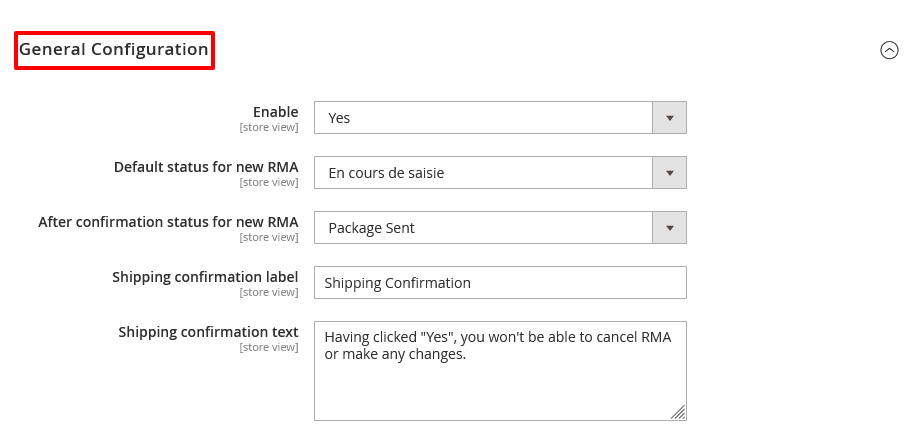
- Select YES in the Enable field.
- Select “En Cours De Saisie” in the Default Status For New RMA field.
- Select “Package Sent” in the After Confirmation Status For New RMA field.
- Write “Shipping Confirmation” in the Shipping Confirmation Label field.
- Write “Having clicked ‘YES’, you won’t be able to cancel RMA or make any changes” in the Shipping Confirmation Text field.
Step – 3
Next, expand the RMA Email Template section and do the following:
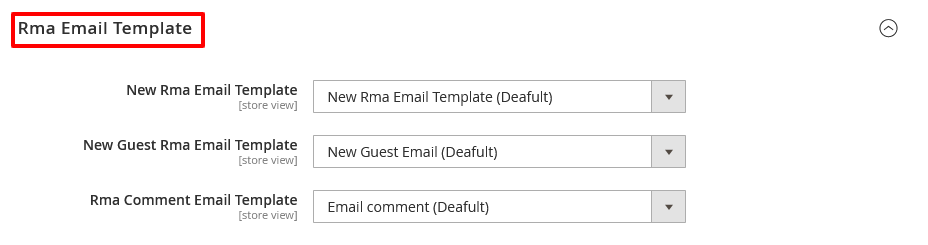
- Select “New RMA Email Template (Default)” in the New RMA Email Template field.
- Select “New Guest Email (Default)” in the New Guest RMA Email Template field.
- Select “Email Comment (Default)” in the RMA Comment Email Template field.
Step – 4
Now, expand the RMA Conditions section and do the following:
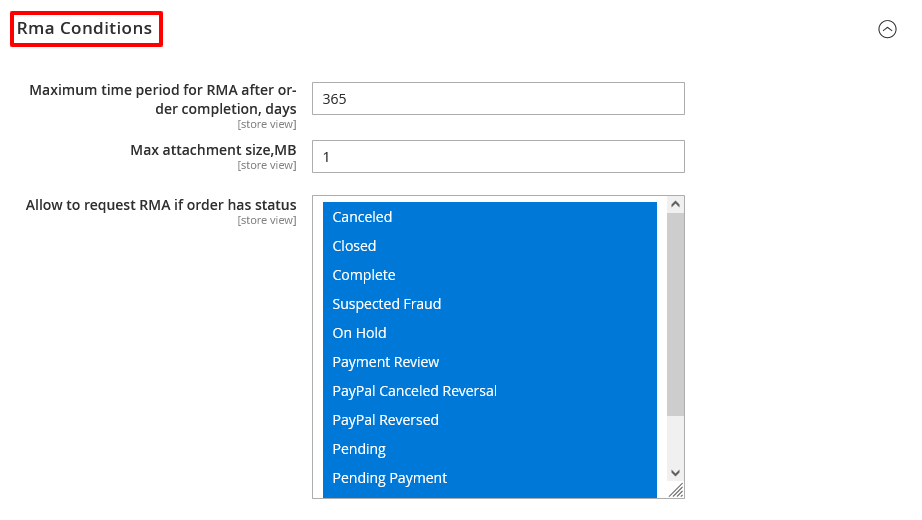
- Write “365” in the Maximum Time Period for RMA After Order Completion, Days field.
- Write “1” in the Max Attachment Size, MB field.
- Select all options in the Allow to Request RMA If Order Has Status field.
Step – 5
After that, expand the RMA Department section and do the following:
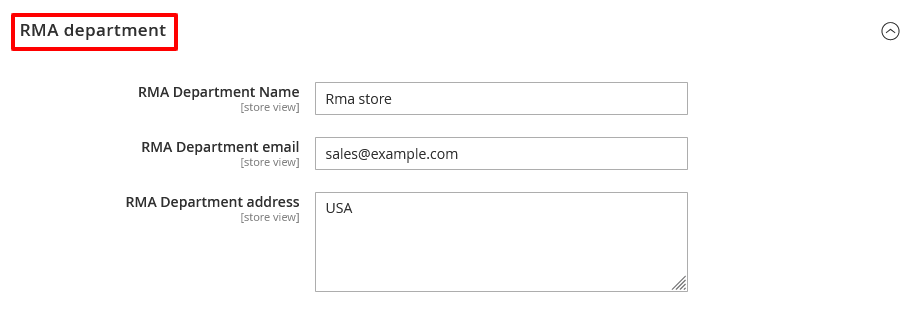
- Write “RMA Store” in the RMA Department Name field.
- Write your contact email address in the RMA Department Email field.
- Write your address in the RMA Department Address field.
Step – 6
Finally, click on the Save Config button to finish the process.

Final Note
And there you go!
This is how you can configure MageDelight RMA Magento 2 Extension in your store.
We hope that you found this tutorial helpful. If you have any questions, please ask them in the comments below.
And if you need our professional assistance, feel free to contact us anytime.