
 (1 votes, average: 5.00 out of 5)
Today, we’re going to teach you guys how to configure shop by brand in Magento 2.
Nowadays, a lot of online shoppers might be visiting your store to purchase products of different brands that they like.
So, having separate brand pages to help customers easily navigate can certainly improve their shopping experience & increase sales.
And the easiest way to create separate brand pages is by integrating the Magento 2 Shop By Brand Extension.
Recommended: Benefits of using Shop By Brand Extension on your Magento 2 store
In this post, we’re going to show you guys exactly how to configure Shop By Brand in your Magento 2 store.
Step-by-Step Process to Configure Shop By Brand in Magento 2
In order to implement shop by brand in your Magento 2 store, first, you need to get Magento 2 Shop By Brand Extension.
Once you’ve purchased & installed the shop by brand extension, you need to follow the below steps carefully to configure it properly in your Magento 2 store.
Step – 1
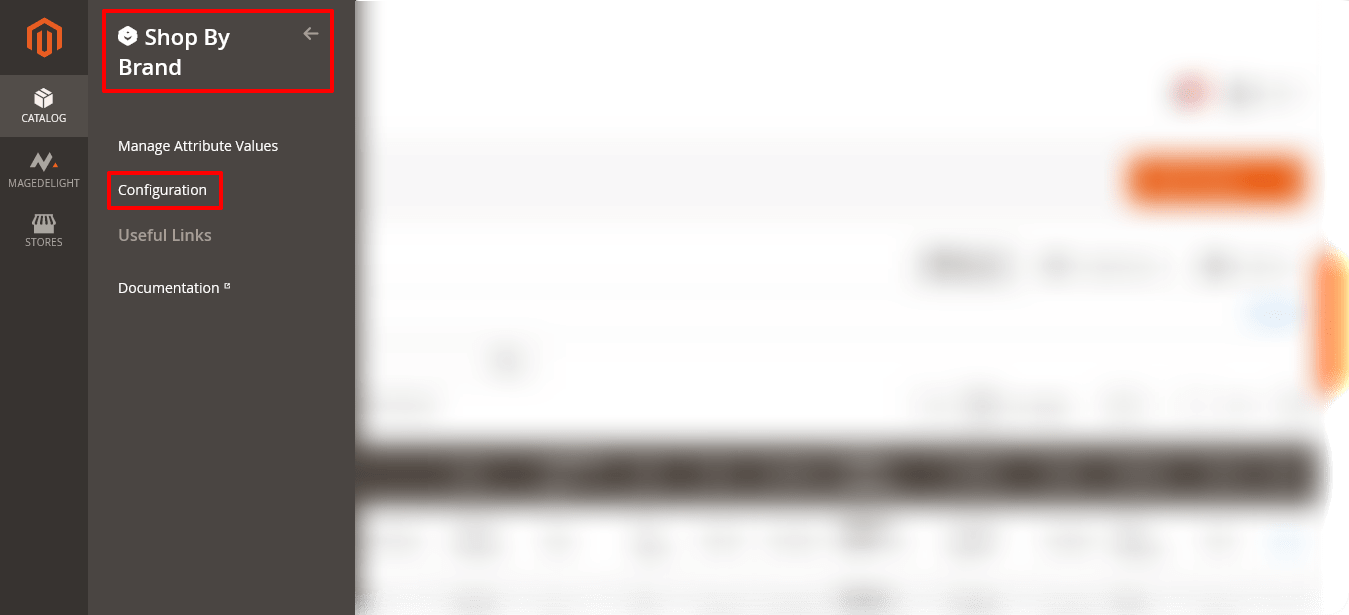
First of all, login to your admin panel and navigate to Stores > Shop By Brand > Configuration.
Step – 2
After that, expand the General Settings section and do the following:
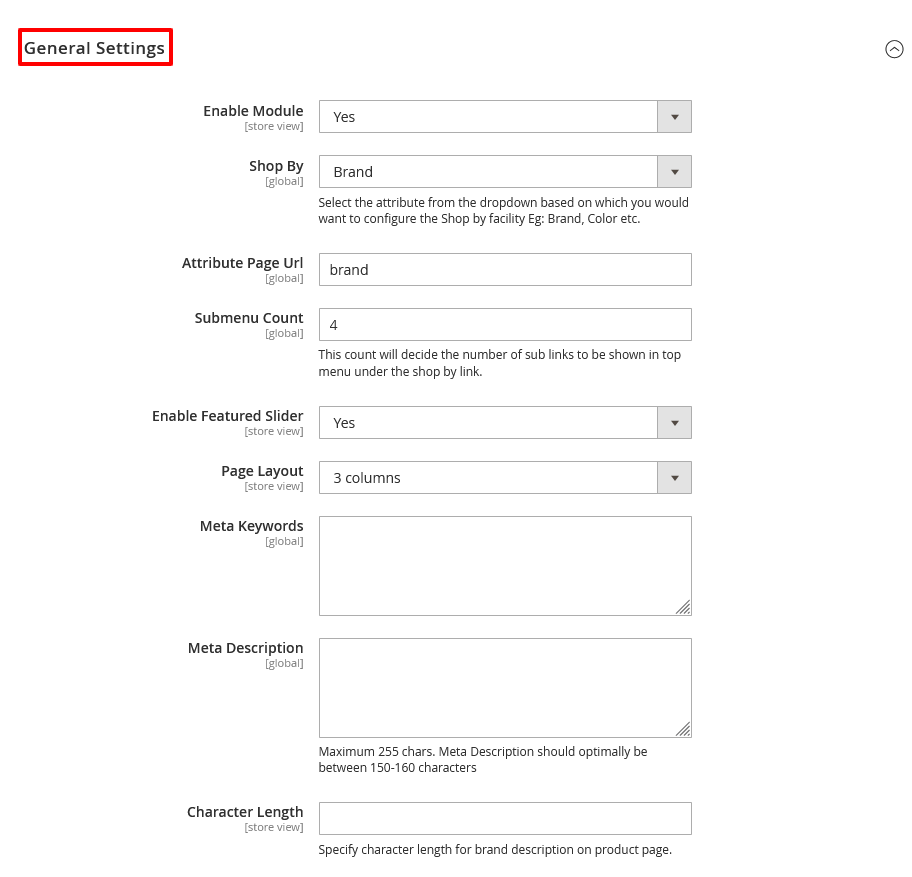
- Select YES in the Enable Module field.
- Select “Brand” in the Shop By field.
- Write “brand” in the Attribute Page URL field.
- Write “4” in the Submenu Count field.
- Select YES in the Enable Featured Slider field.
- Select “3 Columns” in the Page Layout field.
- Leave blank in the Meta Keywords field.
- Leave blank in the Meta Description field.
- Leave blank in the Character Length field.
Step – 3
Next, expand the Attribute Value Settings section and do the following:

- Click on the Browse button to select an image in the Placeholder Image field.
- Enter the value for width in the Logo Width field.
- Enter the value for height in the Logo Height field.
- Click on the Export CSV button if you want to export.
- Click on the Browse button if you want to import.
Step – 4
Finally, click on the Save Config button from the top-right corner to finish the process.

Conclusion
And there you have it! This is how you can configure MageDelight Shop By Brand Extension.
We hope that you found this tutorial helpful. If you have any questions, please ask them in the comments below.
And if you need our professional assistance, feel free to contact us anytime.