
 (2 votes, average: 5.00 out of 5)
Today, we’re going to teach you guys how to configure SEO extension in Magento 2 store.
SEO stands for Search Engine Optimization. It helps website owners establish a strong online presence, rank higher in search engine results, and attract potential customers.
Now, if you want to optimize your Magento 2 store, then you’ll need the aid of a third-party SEO extension.
Fortunately, there are hundreds of Magento 2 SEO extensions available in the market. But, it’s critical to select the right SEO extension to gain maximum results.
SEO Pro, for instance, is a widely-used and extremely popular All-in-One SEO Extension with a proven track record of helping Magento 2 store owners enhance online visibility and boost rankings & traffic.
And in this tutorial, we’re going to show you how to configure the SEO Pro Extension in your Magento 2 store.
Step-by-Step Process to Configure SEO Extension in Magento 2
In order to configure the SEO extension in your Magento 2 store, you need to first purchase the Magento 2 SEO Pro Extension.
Once you’ve purchased and installed the SEO Pro extension, you need to follow the below steps to properly configure it in your Magento 2 store.
Step 1
First of all, login to your admin panel and navigate to Stores > SEO Pro > Configuration.
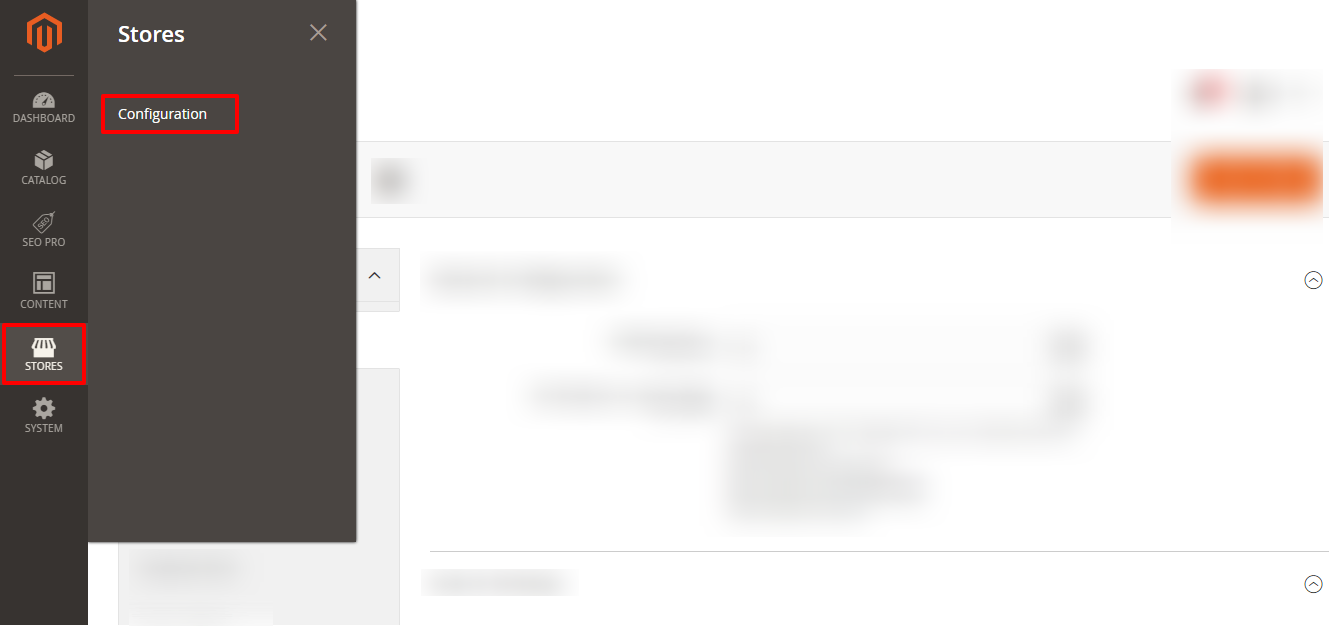
Step 2
Once you click on the “Configuration” button, you’ll be redirected to a page as shown in the below screenshot.
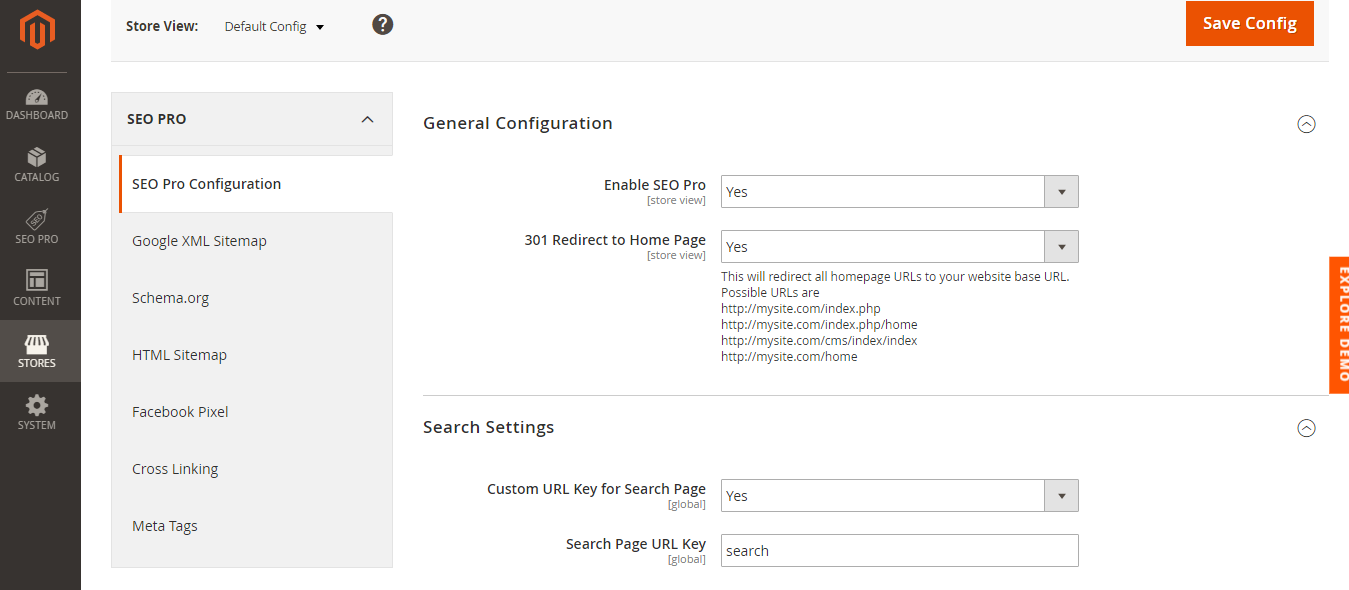
Here, perform the following actions in the Generation Configuration tab:
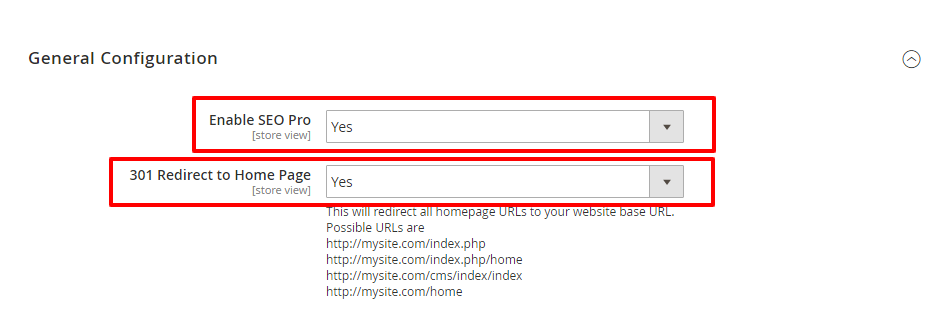
- Select Yes in the Enable SEO Pro field.
- Select Yes in the 301 Redirect to Home Page field.
Step 3
Now, in the Search Settings tab, do the following:
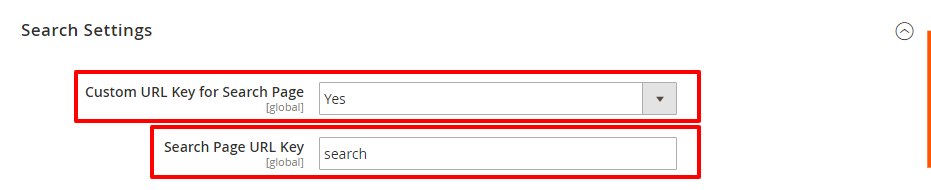
- Select Yes in the Custom URL Key for Search Page field.
- Enter an appropriate text in the Search Page URL Key field.
Step 4
Next, open the 404 Settings tab and do the following:

- Choose Default Search in the 404 Page Redirection dropdown field.
Step 5
Now, open the Canonical URL Settings tab and do the following:
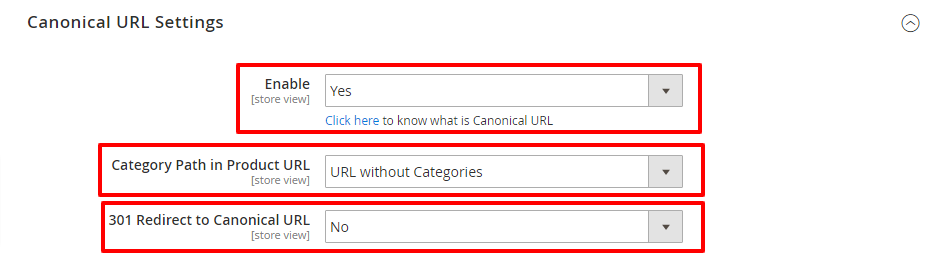
- Select Yes in the Enable dropdown field.
- Choose URL without Categories in the Category Path in Product URL dropdown field.
- Select No in the 301 Redirect to Canonical URL field.
Step 6
After that, click on the Pagination Settings tab and do the following:
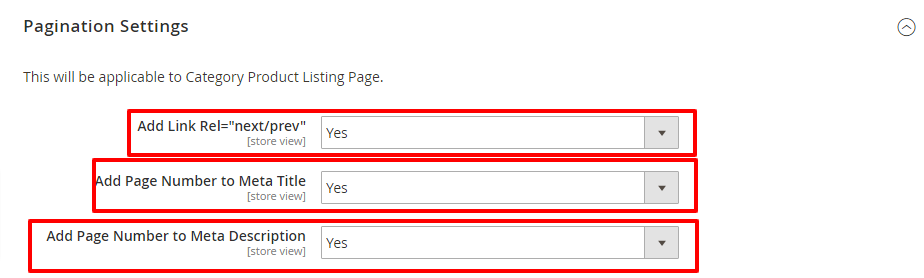
- Select Yes in the Add Link Rel=”next/prev” field.
- Select Yes in the Add Page Number to Meta Title field.
- Select Yes in the Add Page Number to Meta Description field.
Step 7
Finally, move to the SEO Toolbar tab and do the following:
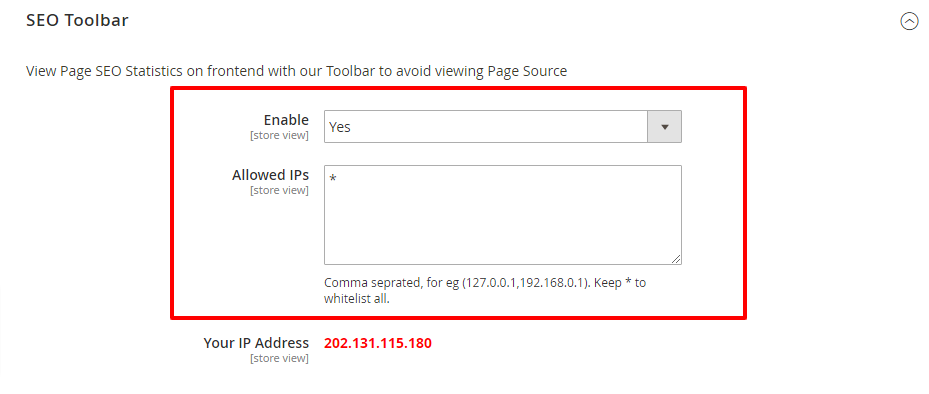
- Select Yes in the Enable dropdown field.
- Write “*” in the Allowed IPs field.
Conclusion
And that’s about it! This is the correct way to configure SEO extension in Magento 2 store.
We hope that you found this tutorial helpful. If you have any questions regarding MageDelight Magento 2 SEO Extension, feel free to contact us at any time.